Showing posts with label upcycling. Show all posts

Friday, 24 July 2026

From Ash Trays To Pin Cushions...

It's always good when you can find a purpose for an old item, it gives it a new life and saves it from the bin, which is I think anyway something we should do more of, it's not a new thing either, people have been changing things from their original purpose for many years, we tend to call it being thrifty or frugal these days, but it's not new but it is a good idea, it saves things from landfill, it save you money.

So here's something I recently gave a new life to - 

Not that useful these days.


A pair? of small brass shoe shaped ash trays with some nice engraving, they've had some colour added to the inlay as well, they are quite nice and obviously served a specific function, but these days fewer people smoke which isn't a bad thing, but what to do with a couple of old ash trays?

My first thought was pin cushions, my reasoning was that they are small and have a novelty value which is probably why they were ash trays in the first place.

To turn them into pin cushions was easy enough, all I did was get rid of the section on the back that would have held the cigarette, as these are brass I had to use my multi-tool.

Ready for modification - 

Time for some surgery.

It didn't take long to grind away the back section, I used a small sanding attachment to remove any sharp edges and that was it basically, the next step is make a cushion.


Ready for a cushion.

The cushion was made from some old red velvet as it goes well with the brass (better once the brass was polished) and stuffed it with some wadding from an old pillow, I haven't detailed the steps, but basically I stitched a sausage shape from the velvet and stuffed it with wadding, then it was glued into the shoe.

And this is what I ended up with -

I'm pleased with them.

So there we have it, a pair of quirky pin cushions, a good size for a sewing box or bag and a good use of old objects that don't really have a purpose anymore.


Thanks for visiting.

Monday, 18 May 2026

Up-cycling an old shoe shine box...

A short video where I up-cycle an old shoe shine box into something more useful, in this case an easy to carry sewing box.

The box didn't really need much doing to it, just a new handle and a bit of sanding, I did make a small tray for the inside to add extra storage, all in all I'm happy with the results, and again another object given a new life and saved from the bin and for no cost other than a little effort.

I've found over the years that although an object might need some work the way it was built is much better than modern equivalents and was made from better materials, I guess more effort was put in to making an item that functioned well but would also last for many years and production costs were less of an issue.

Anyway the video is below.


Thanks for visiting.

Thursday, 31 March 2011

Recycled planter ... ...

I don't seem to have had much time to write posts of late, we've been having a mass spring clean, but I have managed to get some things done round the house, not least the new desk.

We were in need of new desks or something, the ones we had were too small for the amount of stuff we seem to have, and they were both falling apart, so I set about building a new desk, well it's more of a work station, it's built to house everything that we use pc wise, it also meant I had to sort out my stuff, which there seemed to be rather a lot of as I'm a bit of a squirrel (not so much stuff now)

Here's a picture of the desk in use -

Nothing special, built for function rather than form.
It didn't have the handles on the cupboard in this picture, I have since added them, handles make such a difference when you need to open a door :-)

I used two of these for the cupboard - 

I think they work well on the cupboard.
 Anyway I've digressed a little. Because we've been sorting things out we also went through the stuff we decided should go, to see if we could do other things with it, which you may think defeats the object of getting shot of it in the first place.

One thing we decided to modify were some shelves that were in our daughters room (she's been spring cleaning as well) instead of throwing them I made a mobile planter for the garden :-) I love recycling.

Here's the planter - 
I'm still not sure about the wheels...
It was easy to make, the way the shelves were made meant it was simple to take them apart and make them into a box, it took about an hour in all, I even re-used the nails and screws that held the shelves together, the wheels are off one of the old desks, and luckily were just about the right size to fit straight on with no messing around, although I'm not entirely sure they fit in terms of the look of the thing, maybe it'll grow on me, but as with a lot of the things I build I've gone for function rather than form, and I built it to keep plants in.

Okay so it may not be everyone’s cup of tea, but for an hours work (which is all it cost) I think it's pretty good, and the shelves would have gone to the skip as they weren't really good enough for free cycling. Once I built it I gave it a rough sand, just to refresh the wood a little and then gave it a very liberal coating of raw linseed oil to help protect it, the colour has faded a little since the picture was taken, seems the wood was quite dry.

I wondered how much weight it would take, as it turns out it will hold a fair bit, at present it has two large plastic bags full of earth and spuds, which probably weight about 20 kg each.

Testing the planter, I kept hold of the bags in case the wood started to give - 
Even the wheels took the weight, which was a bonus.
The wheels will come in handy because it makes the planter easy to shift about, saves a little back ache, it will most likely house the bags for some time (probably permanently to be honest) unless I find some other use for it.

The wheels do hold the weight, honest ;-) 

Stops the kids trying to ride it about :-)

I think it's always worth seeing if something can be used for some other purpose, and if not maybe some one else can find a use for it, in the case of these shelves even if I hadn't made the planter the wood could have been burned in a log burner, even that has to be better than land fill ?

Maybe you have an old set of shelves you could do this with ? why not have a go, you could also use a pallet, as it happens I've just got a load of pallets to turn into book shelves, and probably planters when they have outlived their usefulness ;-) and in case you were wondering the desk is built using floorboards of various types, it's not the first time I've used floor boards, I've also built a bookcase for my sons bedroom and a fire surround, I have plans to build more furniture using floorboards.

Thanks for reading.


Saturday, 4 September 2010

Dehydrator adapted from an old glass dryer... ...

Well I finally got round to finishing off one of the many projects I seen to have on the go at any given time.
 It was a stroke of luck really, we had been thinking about ways in which we could store things we grow, herbs mainly, but lately other stuff as well, after looking into it we decided the best way to go was to dry things out, this is all well and good, but we weren't sure how to go about it, we knew we could hang herbs up to dry them out, but we don't really have any where we could leave bunches of herbs and stuff drying for days or weeks.

After much considering we decided on the dehydrating method, which is just a kind of accelerated version of leaving stuff hanging for ages, how ever after looking into the prices of some dehydrators we figured it may be some time before we could afford one, so in my usual fashion I declared "I will make one" which is perfectly reasonable, and not really that difficult.

I set about looking for ways to make a dehydrator, I found many interesting ways in which people had made their own dehydrators, from custom built wooden boxes with custom built heating systems to foil lined cardboard  boxes with 100watt light bulbs in.
Then by a stroke of luck some one advertised on freecycle (do you freecycle ? you should) that they had an old glass drying cabinet that they needed to get rid of, we answered the e-mail and luckily the chap agreed to let us have it. It was an old drying cabinet for a school science lab, and was used to dry the scientific kit after being washed, as it turns out this was perfect for our needs.

Here it is -
Yes it does look a little worn.

Now I know what your thinking, something along the lines of "Hells teeth man you can't put food in that !" well no, but I did plan to make it safe to put food in, and it didn't really take much. The cabinet itself was ideal for this project because it had the heating element already fitted, along with a thermostat, which means we could regulate the heat, and as most thermostats have a built in fail safe we could be pretty sure it was going to get too hot and burn the house down.

The first thing to be done was to give it a good clean, and make a repair, although it's not in this picture the cabinet should have had 2 glass doors, it only came with one, and some kind of plastic make shift door, which wasn't very good, so I had to make a replacement.

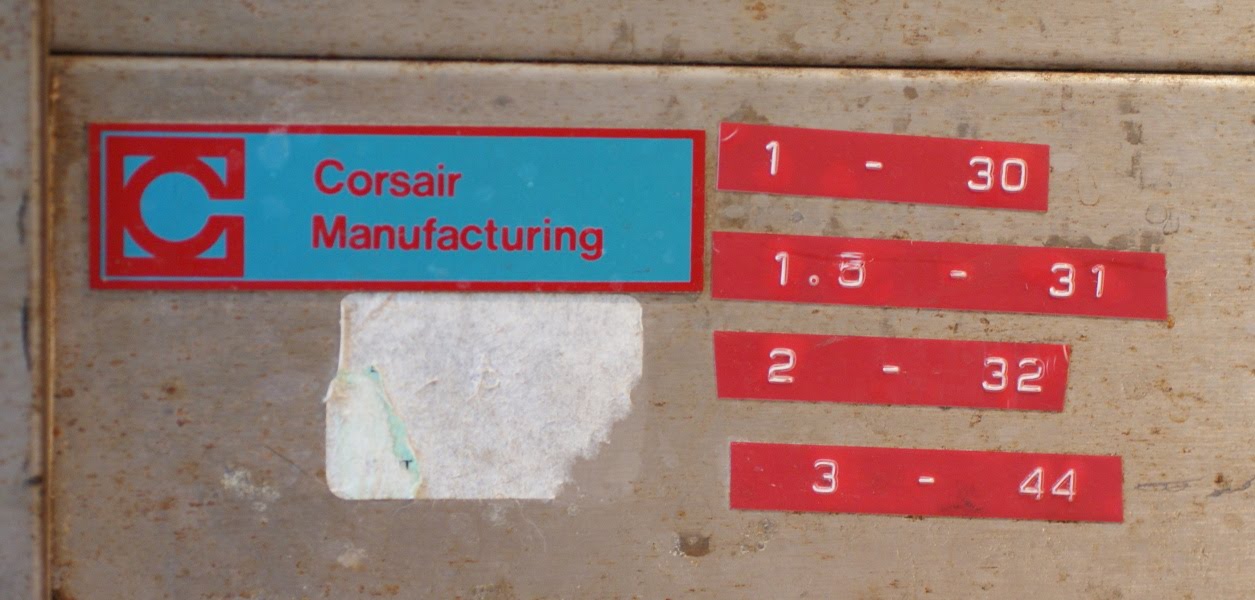
Stickers and labels needed to be removed - 

Stickers put on by lab.

It had been safety tested, which was a bonus.

And as is often the case when you remove any kind of sticker or label you get a sticky residue, I have used the same method to remove this residue for years, and basically it involves either white spirit, or lighter fluid (the stuff you put in zippo type lighters)

The sticky stuff - 

This stuff is a pain to remove.
Same goes for this.

Here's what I used to get rid of it - 

Lighter fluid and a scourer.

Top tip, this also works on labels on glass jars as well, after soaking the label off, if there's any sticky stuff left get a little white spirit or lighter fluid on some kitchen roll, or a scourer and give it a little scrub, it should come off easily, then just was off with hot water and washing up liquid.

I made the new door from what I had round the house, which was some thin tongue and groove, so I cut 4 pieces to roughly the size of the glass door, and then glued them together, added to extra strips of wood to add a little more strength to it, and to stop it warping, and lastly I put a small wooden handle on it.

So with the door done I then had to set about cleaning the inside and the wire racks, the inside wasn't that bad, just needed a wipe over, the racks how ever were a little harder to sort out because they were quite rusty, so I got a wire brush and cleaned them all up so I could spray them.

The rusty racks - 

Rusty racks.

I also discovered that there was a wire support missing, so I improvised using the old steel rod from our old pedal bin.

Making a new support for the racks - 

New support in construction.

After that it was really just a case of spraying the whole thing to make it look a little neater, not that it will be on display, we have a space for it out in our back room. As the racks had quite large spaces between each part I bought some baking sheet things from a pound shop, and as it turned out the 4 I bought were enough to cover each rack, although I did have to cut them to size and the left over parts I stitched together to make new ones, other wise I would have needed 6 in all, I got 4.

The baking sheets - 

Baking sheets

Stitching the cut offs to make new sheets -

Stitching the parts of baking sheet together.

And here is the finished article -

The finished article.

There's no handle on the door in this picture because I took it before I remembered where I'd put the little wooden handle I'd reserved for it.
It won't win any design awards, but it's more for function than form, and it works a treat, we have already dried a load of sage and parsley, and we have loads more to do, and the other day we used it to dry out some fruit leathers, it didn't take as long as we thought it would for the leathers or the herbs, it took just an hour on half heat to dry the herbs, I could have turned it up and dried the herbs faster, but I didn't want to disintegrate them.

I'm pretty happy with the results, the wooden door helps insulate the cabinet and it keeps loads of heat in, and even stays pretty warm for a good while after, not bad for a total cost of 10 quid, and surprisingly it doesn't use that much electric, less than a kettle, and a lot less than our oven, so drying stuff in the cabinet is more cost effective.

Here's a picture of our energy meter while the cabinet was running - 

Our energy meter.

Thanks for reading.