Showing posts with label chickens. Show all posts

Friday, 25 May 2012

Allotment update & problem chickens ... ...

We've actually had some sunshine, and for more than a few hours, so I took the opportunity to visit the plot, not much to report, although things are progressing at a nice pace, the spuds are doing okay, but will need lots of water, which means many trips to the tap with buckets and watering cans.


The spuds -

Still got some growing to do.

The strawberry plants seem to be doing okay as well, soon have some fruit on them - 


Best keep the kids away from them, or they'll disappear quickly.

I also managed to get some more peas in the ground and some broad beans (bit later than I intended) and I got a row of turnips in, quite like a nice turnip, there's a fair bit of weeding to do in amongst the stuff that's already been sown, but I shall probably leave that for a slightly less warm day, it was very hot.


The string for the peas and beans - 


The kids love peas straight from the plant, but then who doesn't.

 And apart from the odd bit of weeding that's about all I did, just keeping on top of things really.

You may or may not know that we have 3 chickens at the moment, and for the most part it's been pretty much plain sailing, but we have had some small issues, although not really a problem to be honest it's all adding to our chicken keeping experience.


Problem chicken - 'A' (also known as Zelda)


She's fine now, and doing well despite the problems.

Yes meet Zelda (subject 'A') we noticed a couple of weeks ago that she seemed to be staying away from the other chickens, and she seemed kind of down and not very enthusiastic about anything, not even food, it was then that we noticed her crop was very large, and felt like a balloon full of water, it was also very warm to the touch.

So after some checking online we discovered that she may have something called sour crop, which is essentially a fungal infection caused by the crop not emptying and the food that's in it fermenting, and that's what would have happened had we not discovered that for some odd reason the daft chicken had some how swallowed a large stone which had basically blocked her crop and was stopping it from emptying.

One of the things you can do to help with sour crop is to pick the chicken up and tip it forward which make the bird vomit, not very pleasant, and it has to be done with some care as you can cause the chicken to choke, this is how we discovered the stone, it came out on the second attempt at getting her to vomit (luckily) and after that she was fine, we did give her some natural yoghurt which helps balance the bacteria in the crop out, they really like natural yoghurt by the way, I am pleased to say that Zelda is now back to her old self, which basically means eating anything that moves.


And now subject 'B'(also known as Dotty)


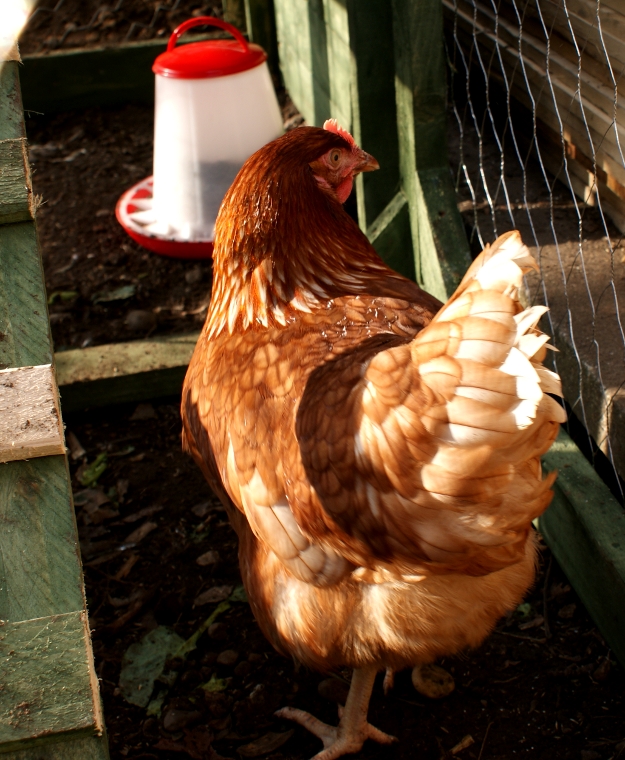
Wot you looking at ! ?

This is more a normal problem, if there is such a thing, it seems Dotty has turned a touch broody (okay a lot broody) this is basically a natural response to laying eggs, she's trying to hatch them, which might not seem like a problem, however the eggs aren't going to hatch, and so she's sitting on any eggs she finds and staying there, and because of this she isn't eating as much as she should, chickens have been known to starve themselves trying to hatch eggs, not good.

The treatment for this is patience (on our part) we've been disrupting her when she's in the nest boxes, we've also been taking the eggs away when they are laid, although Dotty herself has stopped laying, and as soon as the other chicken have laid we now shut off the nest box altogether, we've also been leaving it shut over night as well, it sounds mean but it's for the best, and at least now once she realises she can't get into the nest boxes she goes and eats and scratches about like she should be doing.

Ideally we would separate her from the other so that disruptions to the other hens is kept at a minimum, but we aren't really set up for that, and things aren't too bad, in fact I'd go as far as to say things are slowly improving, one of the other things we tried and had results from is putting Dotty into a bucket of cold water, yes you read that right, because she is running very warm (she's basically a walking incubator) using cold water cools her down, and because she can't get back to the nest boxes she's not able to warm up as quickly, this apparently cures them of the broodiness, so far it seems she is much less broody than she was, but the main thing is she's eating and not likely to starve any time soon, I'll keep you updated.


Thanks for reading.


Sunday, 4 March 2012

Here be chickens ... ...

We have chickens ! which you will already know if you read my wife's blog, if you don't, you can read the ' New arrivals ' post she wrote - new arrivals (opens in new window)

It has been a hectic few days, but we are all sorted now, we got the chickens on Thursday and I've already changed their housing a little, despite my frantic wood working for the last day or two the chickens seem to be settling in quite well, two of them will already eat from our hands, one is not so brave as yet.

After watching the birds in their run and coop we decided that as we have space we should give them some more, what they had was okay, but as they get bigger it might have been a touch on the small side, so I've added an extra few feet to the run, which they seem to be quite happy about.

This is what it was like -

It's a little bigger now.

It is now some what larger, which has to be a good thing, and once the chickens are used to us and we are used to them we'll start letting them out into the larger area, I just need to patch the fences up first.

The revised run area - 

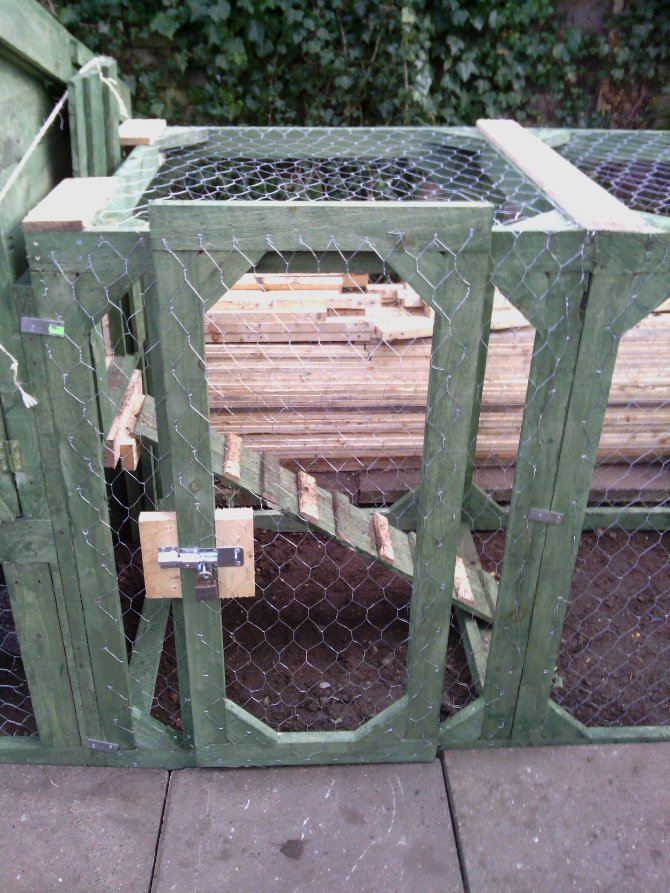
It now has a door as well, makes life easier.

As you can see we've just added a new section to it all, and it still detaches from the other sections, which hopefully means it's still easy to move about if need be.
The door is a new addition as well, as yet the chickens are not quite used to going into the coop at bedtime, so one of us has to get into the run and help them to bed, although they seem to be very keen on corn, so we've been trying to bribe them, which works on two of them.

The door - 

I need to touch up the paintwork.

The other thing I've done is to hang the feeder and their water from the underside of the coop, this doesn't seem to bother them in the slightest, but it will stop the birds perching on top of the feeders.

The feeder and water supply - 

Just the right height for a chicken.

And that's about it, all in all it's been a good few days, if not a touch busy, but it's worth it, the kids are enjoying the chickens, my daughter was over the moon yesterday when she fed one of the chickens from her hand, much squealing.

I'll leave you with some pictures of the ladies, taken by my wife.

Zelda (a Bluebelle) - 

The boss.
 
Dotty (a Speckledy) - 

Will do anything for corn.

Ginger (an Amber ranger) - 


Also loves corn.

And it seems not only does our coop and run make a good home for chickens, it's also a good spot to sun yourself, if you are a cat that is.

Greebo (a cat) - 

I can haz chicken ? but only if it's cooked first.

Thanks for reading.


Saturday, 25 February 2012

Chicken coop from a pile of pallets ...

For the last week or so I've been full steam ahead on building a chicken coop, we said we'd get some last year, but weren't really prepared for it, now we are, so we have no excuse.

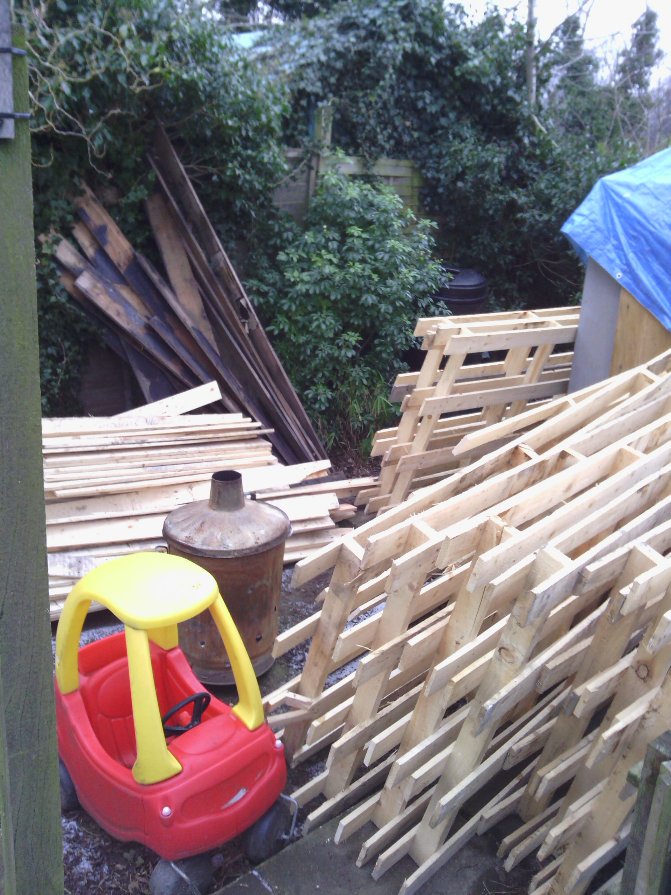
I was lucky as most of the wood to build the coop and run (with a shed load left over) has come free of charge in the form of pallets, 7 foot long pallets to be exact, I saw them in the car park of an industrial unit that was being re-furbished and asked the people doing the work if I could have them, they said yes, one chap even gave me a lift with a load, which when you only have a push bike and small trailer is a good thing.

Although I'd be the first to admit I might have over done it slightly -


I'd already dismantled most of them.

The only wood I bought was for the main frame work, this I got cheap, the only other things I had to buy were something for the roof ( I've used felt) and wire mesh for the run, and to patch up the fencing where the coop now lives.

Construction has begun - 


A basic frame work with pallet cladding.

You can see the method I used, basically I've just used the planks of wood from the pallets to clad the frame, I've fixed it all together using screws.


We spent some time trying to figure out the best way to build the coop, and it seems there are a lot of conflicting ideas, so we went with what works for us, to that end we've put the nest box on one side of the coop, the main door on the front and the pop on the opposite side to the nest box.

The nest box side - 


It rained a fair bit.

Luckily as I'm a little bit of a squirrel I managed to find the hinges and bolts for the nest box door, and the main door.

Things progressed quite quickly, although this is mostly down to the weather being good for a change. The whole coop measures roughly 3 feet by 3 feet, the roof slopes backwards from 3 feet to about 2 and a half feet and it's about 5 feet high, I made it like this to allow some space underneath the coop, this gives the chickens some extra room and allows for air to flow around the coop.

Adding the wire mesh - 


Coop nearly done.

The coop and the run have been built in 2 parts, this makes it easier to move about (which we intend to do from time to time) and it makes life easier for cleaning and repairing. We have decided to start small, just 3 chickens for now, and maybe later on down the line we'll get a few more.

All done (well the coop any way) 


Just the run to do, and a coat of paint.

The run fixes onto the side of the coop, this gives us access to the nest box and the front of the coop (via the main door) we hope the kids will be helping out with the day to day chicken keeping duties, which is another reason for making it easy to get into.

The nest box area - 


Should be cosy with a bit of bedding.

The pop hole, with hatch - 


String operated hatch.

The run, partly completed - 


Coop & run where we intend to keep it.

And here it is, all done in woodland green (it's what the fashionable chickens have)


It's a nice colour.

The patch of earth it's sitting on is where our pond used to be, we filled it in so we could have chickens, the whole area was fenced off when we had the pond, so we intend to patch up the fences and when the weathers nice the chickens will be able to come out to play in the larger area, and when we go out or if the weather isn't so good they will be in their run and coop.

The nest box door - 

Easy egg collection.

I've used nice strong bolts for both doors - 


Found in the depths of my shed.

The hatch for the pop can be opened easily by hand, but I added a simple pulley type system, so the kids can open and close the hatch, it's just a bit of string and a couple of hooks.

The pulley system - 

Simple really.

And that's about it, I still have to fit a perch for the chickens, which I already have, just need to put it in the coop, but I want to make a tray to go underneath the perch, which we will be able to slide out to clean out any chicken sh ... ... err droppings.
I'm also planning on using the manure from the chickens on the garden and the allotment, so not only will we get fresh eggs (well in theory) we'll get free fertiliser as well and the kids will learn about chicken keeping.

I'd highly recommend getting hold of pallets when ever you have a building project like this, with the wood I have left (and there's a lot) I plan to fix up my dilapidated greenhouse, and make some more raised beds, and there's the path edging for the allotment, well you get the idea, plenty of uses for the wood I have, and I've saved a load of money.

The coop again - 


Update - I should have added a more up to date photo of the coop as it is now, shortly after this photo was taken I extended the run, and added a roof over it, although the chickens spend most of their time out in the garden, the run is only really used by them when the weather is bad, and at night.


This is the finished coop -


Not the best picture perhaps, but you get the idea.

You can read about the changes I made at the bottom of this post - It's all go here (opens in new window)


Thanks for reading.