
Just a quick post, I meant to get this done a while ago but time seems to have run away with me.
So every year we try and make the kids a few things for their Christmas stockings (yes I know Christmas was a while ago) andthis last year I decided to use my wood threading kit to make them some flower presses.
I've made simple flower presses before, which you can read about here (opens in new window) but thought I'd make a slightly more kid friendly press this time, the one in the other post is a bit basic, more functional than anything else.
Here they are -
So every year we try and make the kids a few things for their Christmas stockings (yes I know Christmas was a while ago) and
I've made simple flower presses before, which you can read about here (opens in new window) but thought I'd make a slightly more kid friendly press this time, the one in the other post is a bit basic, more functional than anything else.
Here they are -
 |
| No they're not upturned tables. |
At first glance they do kind of look like little upturned tables, which is what the kids thought they were at first, which made me chuckle I have to say.
The wood for these cost nothing, the plates are made from an old book shelf, and the four screws are made from an old hardwood spindle, obviously a press like these would require a thread cutting kit, either a shop bought one or home made for cutting the threads, I also had to turn the spindle down a bit on my lathe, but you can always try out the how to in the link I posted above for a simpler version which works just as well.
To make these I cut four squares of wood (two for each press) then I drilled four holes in each square of wood, the holes in one half need to be slightly bigger to allow the screw to pass through, but not so big that the plate can slide off it, the holes in the other half need to be the right size for your threading kit.
Here's a picture of one of the screws -
 |
| The screws are quite chunky. |
And that's about it really, it's basically a wooden clamp, all that's left to do is cut some squares of cardboard and find something to press, I made these so the kids can press flowers or leaves for use in their various crafting pursuits, I'm also planning on making a much larger press, but for pressing apples and such like.
With card to pack things out -
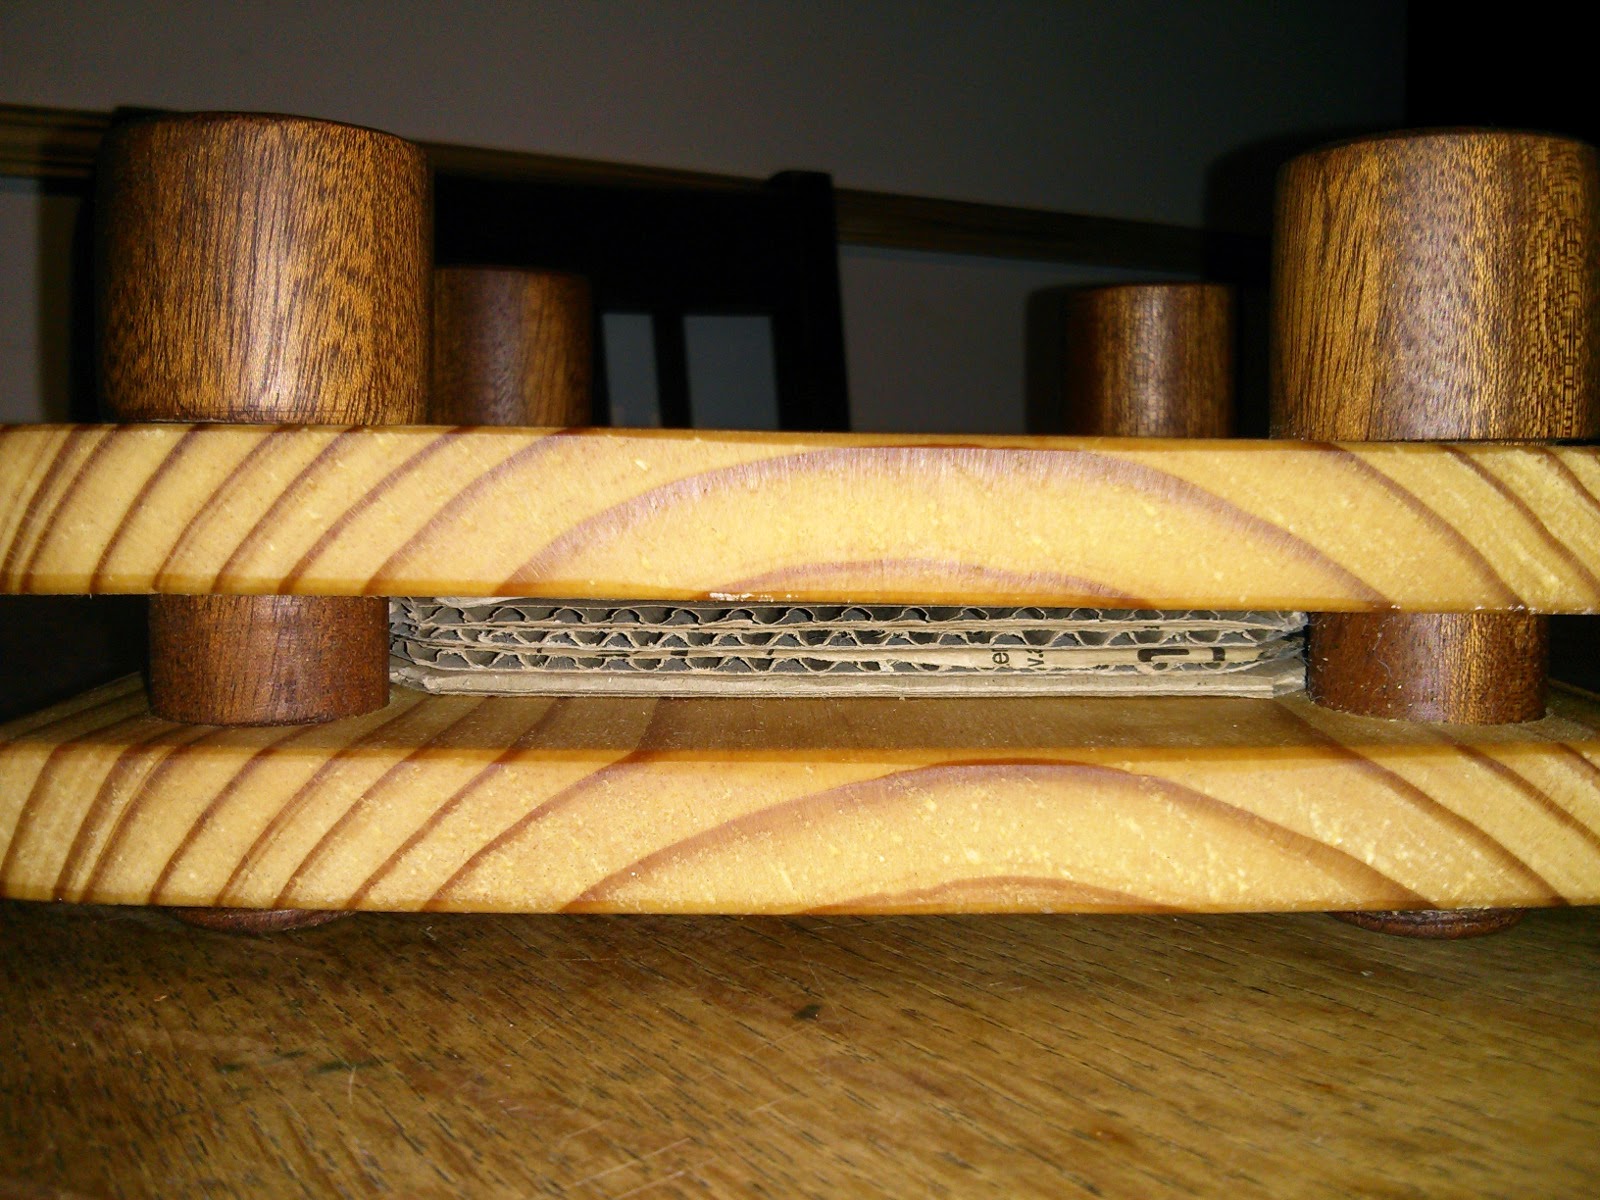 |
| Just needs something to press. |
I did also make them some small mushroom ornaments, I've made a few to sell and the kids seemed to like them, so I made some in brighter colours, there's only two in the picture, but I did also make some red ones with white spots for my older daughters who also seem to really like them.
Mushroom ornaments -
 |
| Colour schemes chosen by the kids. |
Thanks for reading.


