As we have a load of wooden furniture which needs a good waxing from time to time, and because I use a fair amount of wax of the wooden stuff I make it's always good when you can get your hands on a load of wax cheaply, and through our free-cycling escapades we've recently acquired a load of wax, about 2kg in fact for free.
Here's some of it -
What sort of wax is it ? well as far as I can tell it's a mixture of beeswax and carnauba wax, where's it from ? well again my best guess is it's actually a type of mould releasing agent for the use in fibre glass moulding, and it smells a lot like the polishing sticks I use on turned wood sometimes, which are a blend of beeswax and carnauba wax, and some oils.
This is all well and good, but in it's current form it's not that easy to use, mainly because it's very hard, and although it would be okay on hard woods, it would most likely scratch softer woods.
So how to process the stuff ? well that's easy enough, we just need to melt it, but before we do we also need something to put it in, as in a mould of some sort.
I made two moulds, which will give me slightly different sized wax sticks, which I can use for various things, to start I got a couple of blocks of wood and marked out (roughly) some rectangles.
Moulds marked out -
Next thing to do is remove the wood to make some cavities, to do this I used forstner bits and a post drill, large drill bits or spade bits would do just as well.
Cavities made -
I used a small drum sander to tidy the cavities up a little, I wasn't being too fussy to be honest.
Cavities sanded (roughly it has to be said) -
Here's some of it -
 |
| Looks like toffee, doesn't taste like it. |
This is all well and good, but in it's current form it's not that easy to use, mainly because it's very hard, and although it would be okay on hard woods, it would most likely scratch softer woods.
So how to process the stuff ? well that's easy enough, we just need to melt it, but before we do we also need something to put it in, as in a mould of some sort.
I made two moulds, which will give me slightly different sized wax sticks, which I can use for various things, to start I got a couple of blocks of wood and marked out (roughly) some rectangles.
Moulds marked out -
 |
| The squiggly line is where I'll remove the wood. |
Cavities made -
 |
| This is the smaller of the two moulds. |
Cavities sanded (roughly it has to be said) -
 |
| Why the holes and the extra bit of wood ? |
You may have noticed the extra bit of wood and the holes I've drilled in each bit, I have a little experience with moulding things, and decided that even though I'd be lining the moulds with foil I might still need a way to get the wax blocks out once set should they stick, hence the holes, these are for pins that are fixed into the other bit of wood, the idea being that once the wax has set I can just push the pin plate into the holes in the mould and push the wax blocks out, I clamped the two bits of wood together to make sure the holes lined up when I drilled them out.
I made the pins from a small bit of dowel -
 |
| A spot of glue on each one fixes them in place. |
Everything lines up -
 |
| Seems to work as intended. |
Right onto making some wax blocks, this as I mentioned is just a case of melting the wax, now at this stage you can think about adding extra stuff to the wax, essential oils for example if you want a nice smelling wax, or you can add oils like linseed oil, tung oil etc for a softer wax, you can even add tints to the wax, which is something I intend to experiment with.
To melt the wax you should use a double boiler, or a glass bowl over some boiling water, like you would use to melt chocolate (probably not a glass jar in a pan of water as I have)
Melting the wax -
 |
| How to stress out your wife in one easy step. |
I added a little raw linseed oil to this batch just as the wax was starting to melt as I wanted a softer wax, and as things were progressing I lined my mould with tin foil, cling film would probably melt and may cause problems when it comes to getting it off the wax once set.
Mould lined -
 |
| Ready for wax. |
Wax poured (and now we wait) -
 |
| Should be set in an hour or two. |
And here's the finished block -
 |
| Looks like caramel, doesn't taste like it. |
The foil came off the wax easily, although it did leak a bit and the block had stuck to the base of the mould, having the pins to push the block out where handy, and worked well (better than I thought if I'm honest)
To use the stick (which is much softer with a bit of linseed oil) is just a case of rubbing it on the surface of what ever you want to polish, I tested it on our kitchen table, which takes a pounding most days, so is in frequent need of a coat of wax.
Once a liberal coat of wax is on the wood all you need to do is buff with a soft cloth, it does take a bit of elbow grease, but it's worth it in the end.
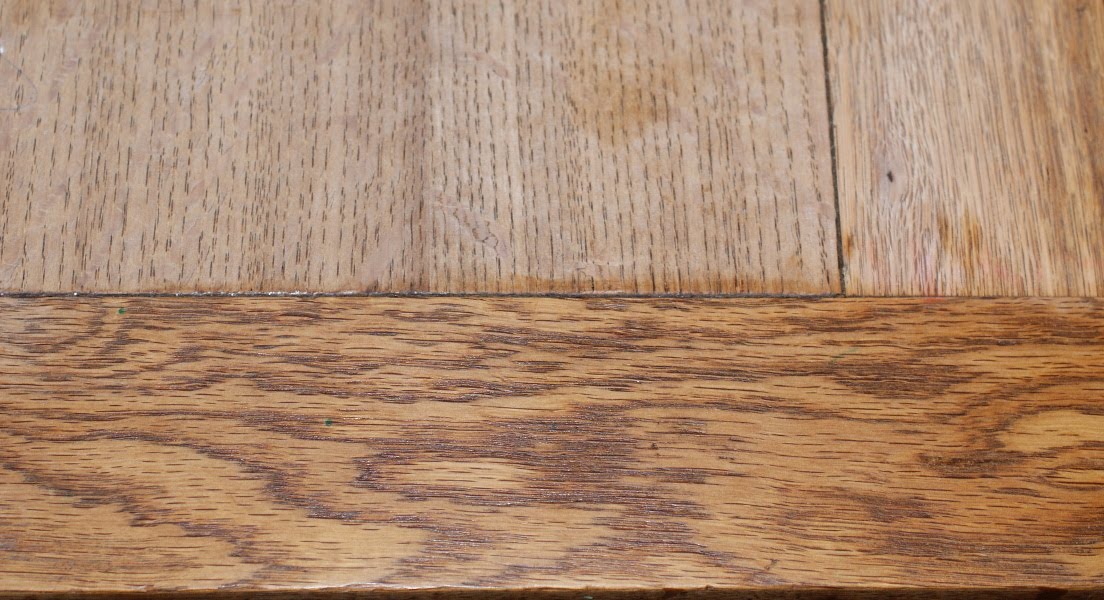
Here's the table top before waxing -
 |
| It's quite dry, so the oil will help feed it, the wax will protect it. |
Apply wax and buff, minion deployed -
 |
| Buffing commences. |
My minion gave up after a few minutes so I finished the job off, and after about ten minutes (including applying the wax) the table now has a nice shine to it.
Finished -
 |
| Not bad. |
And that's that, it does buff to a nice shine, and it will last a bit longer because of the carnauba wax, which is quite a hard wax, next I intend to make some tinted sticks to use on turned pieces, and as we have a load of wax we should be okay for polish for a while, not bad, and free.
Thanks for reading.