Ours is a house that likes to rescue things, plants mainly, the ones that no one wants and that look half dead, but we also like to rescue furniture, especially old furniture.
We have a fair bit of old furniture rescued from people who were throwing it away or selling it cheaply just to get rid of it quickly and our latest item is an old dressing table, we'd been looking for one for our daughter for some time and finally found one that was low enough for her to use, but it did need a bit of tlc.
Here's the finished dressing table -
 |
| The wall colour was our daughters choice. |
It cost us nothing, although we did need a lift with it (thanks for that) but it was in a bit of a state, the old varnish was knackered, so I set about giving it a new finish.
Before I attacked it with a sander -
 |
| The drawers were bad as well. |
Knackered varnish -
 |
| This bit came off on our daughters hand when she lent on it. |
More dodgy varnish -
 |
| Not much you can do once it gets like this, peeling off and such like. |
Selection of sanders, the small orange one is great for tight spaces and corners -
 |
| They have served me well, not their first furniture job, and not their last either. |
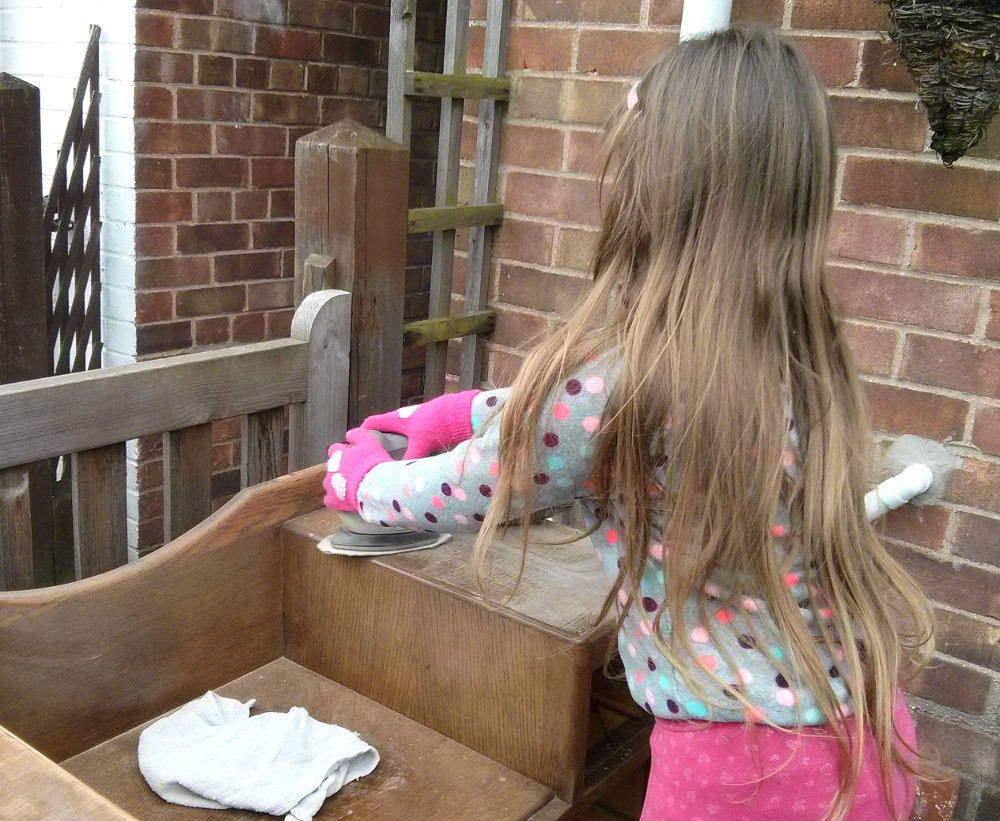
The minion wanted to help, after all as she said it's her dressing table -
 |
| You might have guessed, but she quite likes pink. |
Carcass sanded, didn't take long, and no I didn't make my daughter do it all -
 |
| Next to put some colour back into it. |
It didn't take long to sand all of it, about 2 hours of sanding in all, the old varnish didn't need much persuading, it came off easily, I started with 80 grit sheets and went down to 240 grit for the final sand, and then it was on to waxing.
I've done this to a few bits of furniture we have and although it takes time it does work well, the process involves using a coloured wax, one that more or less matches the wood (in this case Oak) and then waxing with at least 2 coats of clear wax, then over time with polishing it develops a patina that makes it look more natural, it's a slow process, but after a while it looks more like a piece of furniture that's as old as it is, with this dressing table that's about 65 / 75 years give or take.
We know it's about that old because of this -
 |
| We have a couple of furniture items with these marks. |
It's a cc41 mark, which basically stands for "Controlled Commodity" the 41 is because it was introduced in or around 1941 and ran until around 1951 and like a lot of things materials for making furniture were also rationed in WW2 you could only get new furniture if you had either been bombed out or been recently married, and as with a lot of furniture from that period it is very much a utility piece, which is why it's not very decorative as far as dressing tables go, although there was quite a good black market trade in more decorative furniture, but for us it was the mirror that made it, it's lovely old thick bevelled glass and is 75cm across (about 2 and half feet) it's a big bit of glass.
Right enough about that, time for some wax -
 |
| Great stuff and a nice colour. |
I used Black Bison wax, it's great stuff and smells nice (my wife says it smells like a Bison, not sure how she knows that) I gave the whole thing a generous coat of wax and left it over night before adding the top coats of clear wax.
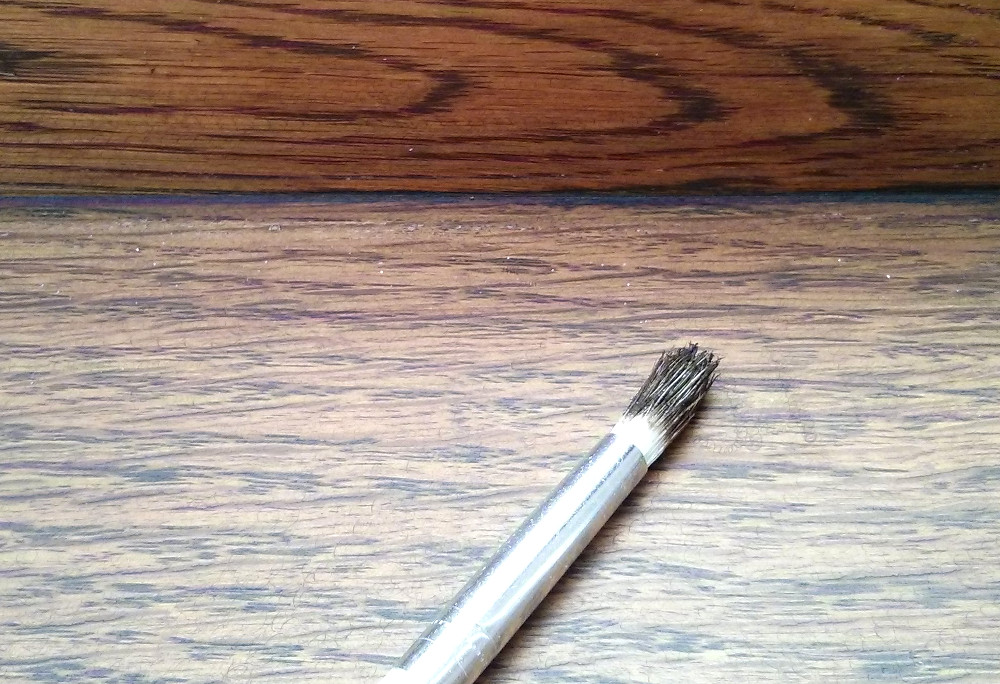
For any gaps that I couldn't get a rag into I used a small paint brush to apply the wax, you can see in the picture below the light colour where the 2 bits of wood meet.
 |
| A small brush works well for gaps. |
Wax brushed in, looks better now -
 |
| You can clean the brush with hot water and washing up liquid. |
For the top coat of wax I've used clear Briwax, again I've used this stuff for a while and I find it to be good, gives a nice shine and it's easy to use, just apply it liberally and leave it for a few hours before buffing, which does take a bit of effort, but the shine is worth it, and it's hard wearing, our stair treads are stained wood and Briwax does a great job of keeping them looking good.
Top coat applied -
 |
| You can see the difference in colour. |
While the wax dried I set about a couple of small repairs, one of the drawers had some dodgy hardboard on it which didn't fit very well and there were gaps, so I took that off and replaced it with some thin plywood, which I got from a scrap wood bin, the other repair was fixing the stop blocks, these are just small bits of wood that stop the drawers going in too far, just a couple of pins soon sorted them out.
New drawer base -
 |
| The colour doesn't match, but it's inside the drawer so not in view. |
Stop blocks fixed down -
 |
| Few pins and job done. |
And that was it, apart from buffing the wax to a soft shine and lugging it up the stairs that was it, in all it took about 4 hours actual work to get it looking better, and over time it will take on a nice look more in keeping with it's age, now all we need to do is get some fairy lights for round the mirror to add a bit of sparkle.
One last thing, if you have an old bit of furniture that's more or less okay finish wise but maybe has a few scratches don't bin it, get some Teak oil, it's cheap and works well for adding a shine and feeding wood.
Here's a few scratches on the tallboy that also lives in our daughters room, this was also made in or around WW2, but the front has a few marks.
Scratches -
 |
| Only small, but noticeable. |
After a wipe over with Teak oil -
 |
| The scratches are still there, just less noticeable. |
So go forth and rescue stuff.
Thanks for reading.