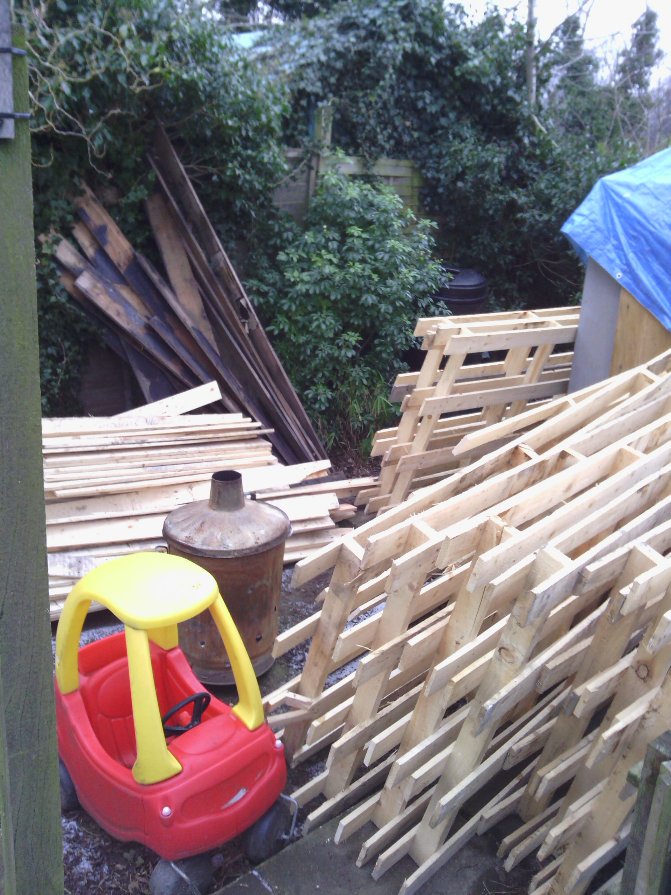
Showing posts with label free wood from pallets. Show all posts

Sunday, 22 July 2012

Homemade bookends ... ...

I've been meaning to make some bookends for a while now, not that we actually have any room on any of our book shelves, too many books, which reminds me I have to make some new book shelves.

I made them from ... ... yes you guessed it bits of pallets, offcuts from other jobs to be exact.


Here they are -


Complete with books.

Now apart from the artistic bit, which I cut out of odd bits of wood using my scroll saw, these are really easy to make, and you can use any shape you can cut out for the decorative bit, maybe letters or numbers if these are for a kids room, or a dinosaur shape maybe, you are only really limited by your imagination, and perhaps a few tools.

To make the main part of the bookends you need four bits of wood, which you basically stick together in 'L' shapes, and what you should get is something like the picture below.


All fixed and ready for the arty bits - 


I used some wood glue and small brass pins to fix them together.

I made mine about 6 inches in height, but you can go as big or small as you want, I guess it depends on the books you have.

For the rest of each bookend I marked out a piece of wood with a hand drawn design and then cut it out with my scroll saw, if you don't have a scroll saw you can also use a coping saw, but it will take much longer to cut out, although it has to be said that does depend on what sort of design you go for, mine might have been a little over complicated, but I never do things the easy way ... ... well not all the time.


The arty bits - 


Perhaps a little too fiddly, but I like them.
 

In case you aren't sure what a scroll saw or a coping saw is, have a look at the pictures below, a coping saw is a lot cheaper than a scroll saw, but harder work.


My scroll saw - 

It's a great tool to have.

My coping saw (well one of them anyway) - 


Works just as well, but will make your arm ache after a while.

Once you have your design all you need to do is fix it to the two 'L' shaped parts you've made, I used wood glue again, and there you have it, two simple to make bookends, I gave mine a good sand and then just polished them with our homemade beeswax and linseed oil polish, which you can read about here (opens in new window)


Here they are again, only a different way round - 


Not sure they look as good this way round though ?

What do you think ? long ways (like the above picture) or like the picture below ?


This is a simple make that anyone with even basic wood working knowledge can try, and it's also a good project to teach kids about wood working and using different types of tools.


Thanks for reading.


Friday, 25 May 2012

Garden edging made from pallets ... ...

If like me you make loads of stuff out of old pallets (or any type of wood for that matter) you may have a lot of off cuts, and in the case of pallets maybe some broken bits, well here's an interesting use for them.

Garden edging can be expensive, I've seen it in pound shops though, but if you have the wood you might as well make some yourself.
You only need a few tools, a saw,tape measure,staple gun and some strimmer wire (the thicker the better) and perhaps a few other bits and bobs.


Broken bits of pallets -


These have been on my shed roof for a while.


You'll need to work out what length to make each section of edging, I made mine about 16inches, mainly because I had a short piece of wood I used as a guide, which oddly enough was about 16inches long.

Once you cut your lengths of wood you'll need to make one end of each piece pointed, this will help when hammering the edging into the ground, basically you want to make a load of flat stakes.
I made a template rather than measure and then cut each piece (I made 20 pieces in the end)

To make the template find the middle of the wood, then measure 2inches up on either side then you just need to draw a line on each side from the centre to the mark on each edge.


Like this - 

It doesn't have to be too precise.


And then you just use the template to mark each bit of wood and then get cutting, this can also be done (a lot quicker) on a mitre saw, but I couldn't be bothered to get mine from the shed.

Anyone for a stake ? - 


Just need a vampire or 2 and I'm sorted.


Next you want to line up all your stakes, it helps if you can butt them up against something, I used the back door step.

All lined up -


Now we just need to fix them together.


This is where the strimmer wire comes in, you can use metal garden wire, but it does tend to rust and break after a short space of time, where as the strimmer wire being plastic will last much longer.

All you need to do is staple the wire to each stake, a line at the top of the stakes and one at the bottom of the stakes.


Like so -

All done.


To stop the wire slipping out of the staples you can loop it round and fix it, you don't have to use a staple gun, you could use small wire clips, a staple gun is quicker though, and if some of the staples don't go into the wood all the way, just give them a tap with a hammer.

The loop - 


Use a staple or 2 to fix the wire.


And that's about it, you can make it on long lengths or short ones, the height is up to you, it's easy to make and if you already have a load of off cuts it's a good way to use them up.

I took a picture of it standing up, just for demonstration purposes, I shall be using the stuff I've made to make a raised bed or two, but one that can be moved and rolled up when it's not in use, I'm leaving the wood plain, but you can always paint it, or stain it for a nicer look, not that bare wood isn't nice.

It works ! -


You get the idea :-)

Thanks for reading.


Tuesday, 8 May 2012

Patio table made from pallets ... ...

Just a quick post, I'm still finding things to make with various bits of pallet wood, this time I've made a small table for the patio, it's made in much the same way as the play kitchen, and will replace the very wobbly blue plastic table the kids have been using.

Here it is -

It's already had a coat of linseed oil.

Pretty easy to build, I've been lucky in that some of the pallets I had, had large support pieces, these have been great for table legs and other things, as you can see in the picture above.

Here's a couple of diagrams to show how it's made -

The sides.

Click on the pictures for a better view.

 The top and support piece - 


Don't forget to look at the photo's


As it says in the diagrams you should add a support piece between the two legs, this will help with stability, if you have enough wood you can even make this into a small shelf.

The support piece - 


Stops the legs from being forced apart.
 
Once that's done you may want to give the top a sand, I went over the whole thing with my belt sander, if the wood you use is rough having a power sander is a big help, then all you need to do is decide what colour you want it, I just gave it a good coating of linseed oil, but you could stain it, paint it with a good exterior gloss type paint.

And there you have it, yet another use for a load of old pallets.


Thanks for reading.

Saturday, 25 February 2012

Chicken coop from a pile of pallets ...

For the last week or so I've been full steam ahead on building a chicken coop, we said we'd get some last year, but weren't really prepared for it, now we are, so we have no excuse.

I was lucky as most of the wood to build the coop and run (with a shed load left over) has come free of charge in the form of pallets, 7 foot long pallets to be exact, I saw them in the car park of an industrial unit that was being re-furbished and asked the people doing the work if I could have them, they said yes, one chap even gave me a lift with a load, which when you only have a push bike and small trailer is a good thing.

Although I'd be the first to admit I might have over done it slightly -


I'd already dismantled most of them.

The only wood I bought was for the main frame work, this I got cheap, the only other things I had to buy were something for the roof ( I've used felt) and wire mesh for the run, and to patch up the fencing where the coop now lives.

Construction has begun - 


A basic frame work with pallet cladding.

You can see the method I used, basically I've just used the planks of wood from the pallets to clad the frame, I've fixed it all together using screws.


We spent some time trying to figure out the best way to build the coop, and it seems there are a lot of conflicting ideas, so we went with what works for us, to that end we've put the nest box on one side of the coop, the main door on the front and the pop on the opposite side to the nest box.

The nest box side - 


It rained a fair bit.

Luckily as I'm a little bit of a squirrel I managed to find the hinges and bolts for the nest box door, and the main door.

Things progressed quite quickly, although this is mostly down to the weather being good for a change. The whole coop measures roughly 3 feet by 3 feet, the roof slopes backwards from 3 feet to about 2 and a half feet and it's about 5 feet high, I made it like this to allow some space underneath the coop, this gives the chickens some extra room and allows for air to flow around the coop.

Adding the wire mesh - 


Coop nearly done.

The coop and the run have been built in 2 parts, this makes it easier to move about (which we intend to do from time to time) and it makes life easier for cleaning and repairing. We have decided to start small, just 3 chickens for now, and maybe later on down the line we'll get a few more.

All done (well the coop any way) 


Just the run to do, and a coat of paint.

The run fixes onto the side of the coop, this gives us access to the nest box and the front of the coop (via the main door) we hope the kids will be helping out with the day to day chicken keeping duties, which is another reason for making it easy to get into.

The nest box area - 


Should be cosy with a bit of bedding.

The pop hole, with hatch - 


String operated hatch.

The run, partly completed - 


Coop & run where we intend to keep it.

And here it is, all done in woodland green (it's what the fashionable chickens have)


It's a nice colour.

The patch of earth it's sitting on is where our pond used to be, we filled it in so we could have chickens, the whole area was fenced off when we had the pond, so we intend to patch up the fences and when the weathers nice the chickens will be able to come out to play in the larger area, and when we go out or if the weather isn't so good they will be in their run and coop.

The nest box door - 

Easy egg collection.

I've used nice strong bolts for both doors - 


Found in the depths of my shed.

The hatch for the pop can be opened easily by hand, but I added a simple pulley type system, so the kids can open and close the hatch, it's just a bit of string and a couple of hooks.

The pulley system - 

Simple really.

And that's about it, I still have to fit a perch for the chickens, which I already have, just need to put it in the coop, but I want to make a tray to go underneath the perch, which we will be able to slide out to clean out any chicken sh ... ... err droppings.
I'm also planning on using the manure from the chickens on the garden and the allotment, so not only will we get fresh eggs (well in theory) we'll get free fertiliser as well and the kids will learn about chicken keeping.

I'd highly recommend getting hold of pallets when ever you have a building project like this, with the wood I have left (and there's a lot) I plan to fix up my dilapidated greenhouse, and make some more raised beds, and there's the path edging for the allotment, well you get the idea, plenty of uses for the wood I have, and I've saved a load of money.

The coop again - 


Update - I should have added a more up to date photo of the coop as it is now, shortly after this photo was taken I extended the run, and added a roof over it, although the chickens spend most of their time out in the garden, the run is only really used by them when the weather is bad, and at night.


This is the finished coop -


Not the best picture perhaps, but you get the idea.

You can read about the changes I made at the bottom of this post - It's all go here (opens in new window)


Thanks for reading.