It's that time of year when I'm left with less to do gardening wise at least, the allotment has wound down, the garden as well, I do have a load of jobs to do over the winter in the garden in the shape of some trellis for training fruit trees and other plants, I also plan to build a seated arbour for the bottom of the garden, but as for growing things, not much is going on so I'm now working through some of the other things I've been wanting to do, one of which is make some wooden pumpkins for Halloween.
To be honest I'm not sure they are very pumpkin like, but they look okay and they have the added bonus of being smelly, I shall explain.
The pumpkins -
 |
| Pumpkin ish ? |
I made them from an old fence post, I haven't finished them as well as I usually do, as I was trying to retain a kind of rough / rustic sort of look, they were easy enough to make.
I took an old fence post and cut some blocks from it -
 |
| Blocks cut and centres marked. |
I drilled a hole in the centre for mounting onto my lathe using a woodworm screw -
 |
| Ready for the lathe. |
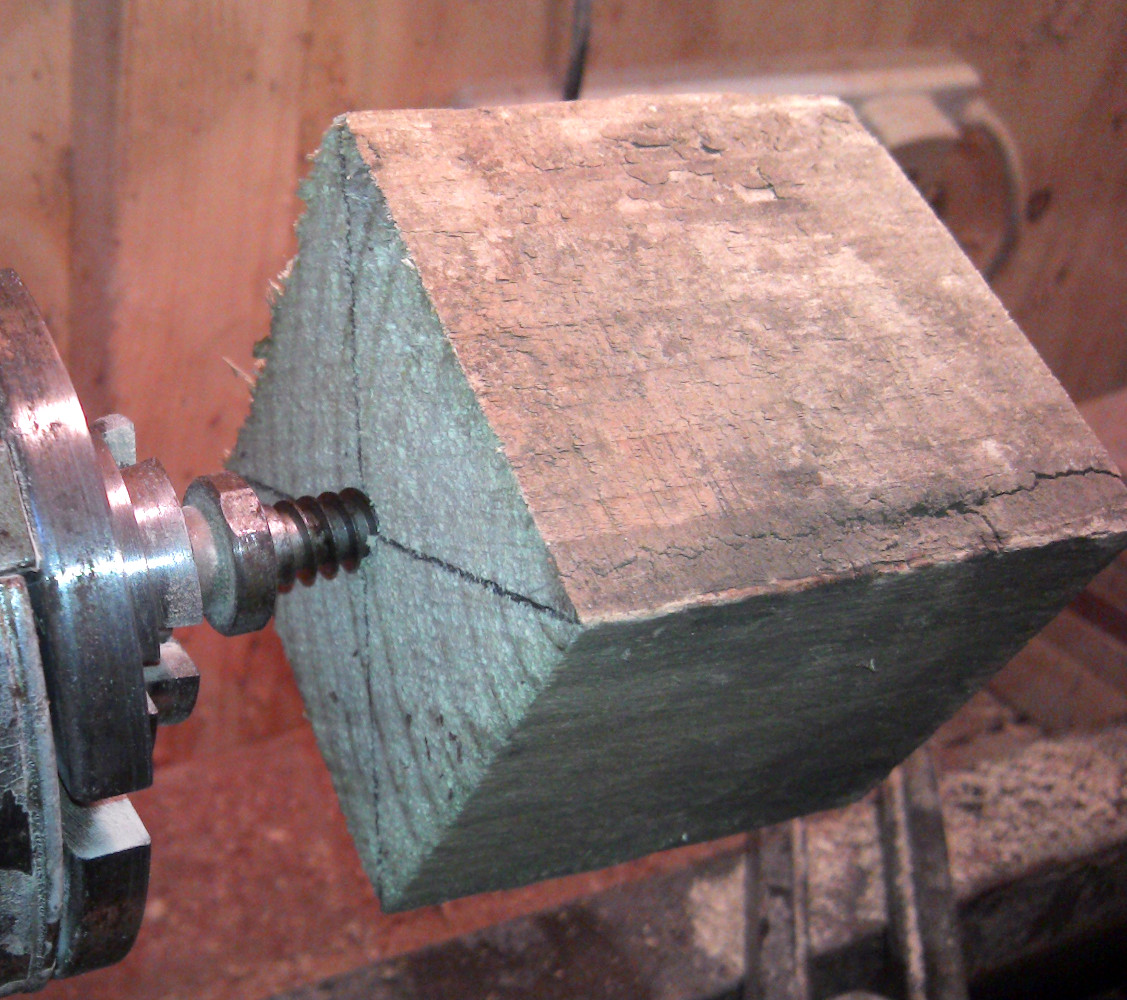
Block mounted and ready for turning -
 |
| These are rough and ready pumpkins. |
As you can see I haven't taken too much care, and to be honest the wood wasn't great but didn't cause any major problems.
After a minute or two of turning -
 |
| Sort of pumpkin shaped ? |
After a bit more turning and a bit of a sand -
 |
| Ready for a bit of detail. |
At this point it kind of looks like an onion, to make the lines that pumpkins have I used a couple of needle files to make some grooves into the wood, I did try using my multi-tool with a small sanding drum on it, but I thought the grooves where too wide, you can tell which one it is in the picture at the top of this post, after I'd made the grooves I used a bit of sand paper to smooth things out a bit.
Needle files -
 |
| Easy to use and cheap to buy. |
Grooves started -
 |
| Slightly less like an onion ? |
Grooves done -
 |
| Almost done. |
Once I'd done the main part of the pumpkin I gave it a quick coat of Teak oil and then it was onto the stalk, to make this I raided my supply of random sticks and twigs, I chose some twisted willow as this looked more stalk like.
Stick chosen -
 |
| Just needs a bit of trimming. |
I cut the stick where it branched off into two parts, then trimmed it a bit, the next thing to do was sand one end of the stick so that it made a kind of stopper shape, this I figured was an easy way to hide the hole that was left from mounting the wood on the lathe.
Trimmed -
 |
| One stalk. |
Sanded and now ready to be a stopper -
 |
| Just needs stuffing into the pumpkin. |
Pumpkin done -
 |
| One pumpkin ish pumpkin. |
The reason I chose to make a stopper is because this wood is quite soft (it's Pine) it soaks things up quite well, especially oil, so I figured that they'd make interesting air fresheners, the idea is that the hole that I used to mount the wood on the lathe becomes a reservoir for the oil and it slowly soaks into the wood and the stopper stops it spilling, it also soaks some of the oil up, kind of like a wick and there you have it, smelly pumpkins, I used Lavender oil, but any essential oil would work, and after a while you can change the oil for a different flavour.
In the end I made three pumpkins and filled them all with way too much oil and stunk the living room out, but everyone in the house likes Lavender so all was good and it was a better use for an old bit of fence post than the fire.
 |
| Smelly wooden pumpkins, what more could you want ? |
Thanks for reading.


No comments:
Post a Comment