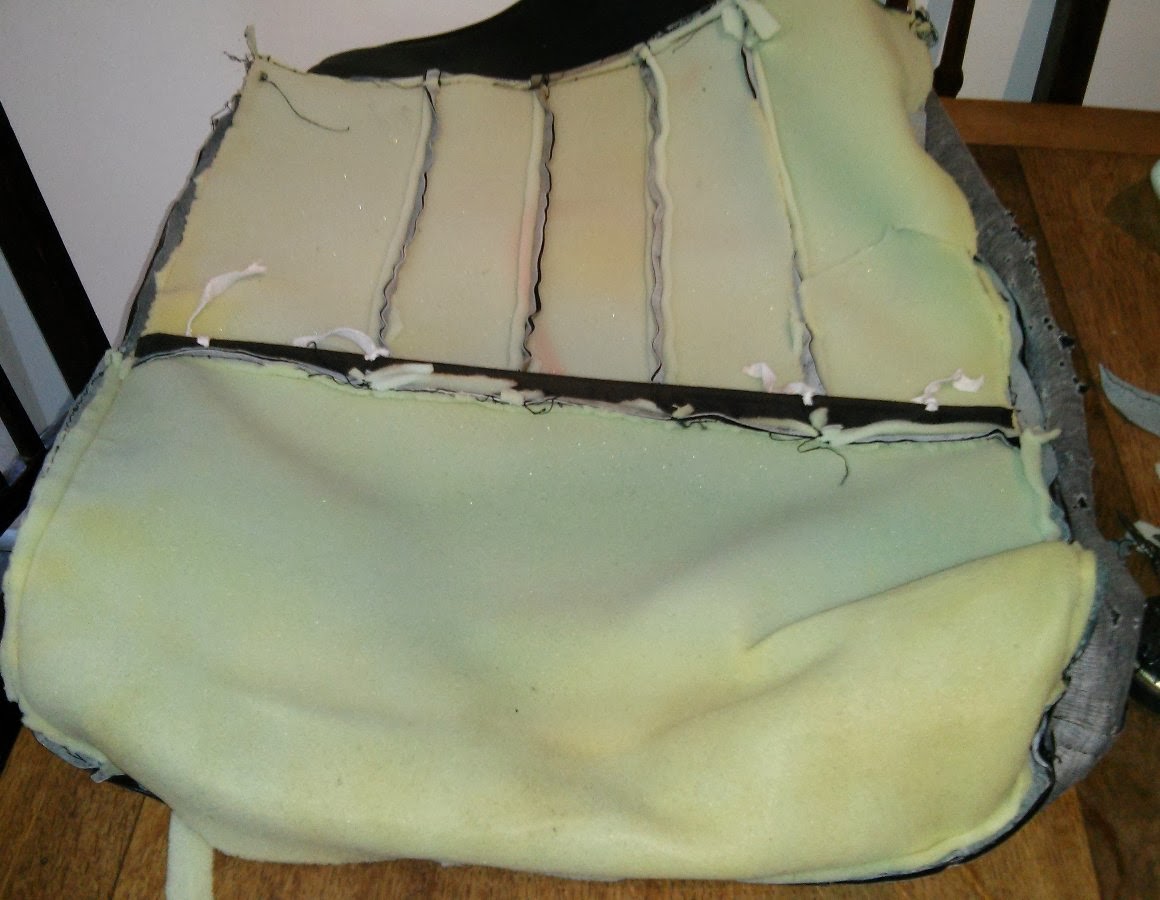
They were both a bit damaged, she has since recovered hers in a fabric she liked, which she got for £8, and she's got some fabric left over for other things, the only thing wrong with the chair I now have is the arm pads were a bit worn, which as it turns out was an easy fix.
The thing that struck me was how easy people throw things away these days, it seems that no one stops to consider if a thing can be fixed before they throw it out, maybe it's just a difference in thinking, but if something in our house breaks the first thing we do is work out if it can be fixed, and then if it can't we try to recycle it in some way, maybe that's part of it, perhaps people lack the confidence or the practical skills to try and fix things ? but you would think with everyone having to tighten their belts that more people would be trying to fix things and save a few pounds.
As an example a few months ago my sons nintendo 3ds started playing up, the left and right buttons wouldn't work properly, the cost of a new console is about £100, which was more than we had at the time, but as it turns out it's easy to replace those buttons, and it cost about £8.50 for new ones, I wonder how many people would have written it off before they thought about fixing it.
It cost nothing for me to fix the chairs arm pads, I found out that they un-screwed from the chair and it was easy to recover them, here's how.
One of the arm pads before covering -
 |
| Quite worn. |
I found that the material was stapled onto the plastic arm, with a bit of foam padding, so I removed the staples and then took off the old material.
The staples -
 |
| Easily removed. |
I used a magnet from a an old speaker to keep the old staples in one place, I do this when I'm taking things apart as well, saves trying to find dropped screws.
Staples all in one place -
 |
| Better here than stuck in some ones foot. |
The arm with foam padding -
 |
| Not too bad. |
On to the covering, the old covering was some kind of mock leather type stuff, I could have used just about anything to re-cover the arm pads, but as I had some old covers from a previous office chair I went with leather.
The old cover (complete with foam) -
 |
| Some might call me a hoarder of objects that might come in handy. |
After finding a bit of the old cover that was big enough to cover the arm pads I unpicked the stitches to remove it from the cover, mainly to make it easier to deal with, and because I wanted to save as much of it as possible.
Enough material to cover both arm pads -
 |
| I kept the foam for extra padding. |
Once I'd cut the material in half so that I had two bits, one for each arm pad I set about fixing it down, to do this I used a staple gun and basically just stapled it back down, I could have glued the material down, but stapling was quicker.
Fixing started -
 |
| Few more staples and it's done. |
I had to cut some bits of material to make way for the bolt holes that hold the arm pad to the arm, and just to make sure the staples were well into the plastic I gave them a tap with a pin hammer. I wasn't too careful with folding the corners in as the arm pad fits into the chair arm and the ends are covered.
Cut outs for the bolt holes -
 |
| The bolts also help to hold the material down. |
One arm pad done, just need to fix it back onto the chair -
 |
| Simple really. |
All done -
 |
| Looks almost new. |
And that's it really, it took me about 45 minutes to do both arm pads, and I'm really not that good with upholstering things, so If I can do it so can you, and if your office chair is starting to little worn, why not try to spruce it up a bit before you chuck it, this isn't the first time I've fixed an office chair, the arms on my last one broke, so I made some new ones from wood - Wooden office chair arms (opens in a new window)
Thanks for reading.


