
A natural progression for most gardeners is to go from buying seeds and plants to propagating your own, this has it's rewards and it's down sides.
The rewards are obvious, you save money, you learn how plants work and you also learn what works and what doesn't when it comes to propagating, and therein lies one of the down sides, sometimes things fail, you can read all the books, you can read the internet but it doesn't always work the trick (in my opinion) is to not give up, try again and in all honesty if I hadn't adopted this way of thinking our garden would be concrete and devoid of any plant life, I have failed a lot.
So what's that got to do with horse radish ? well horseradish is an easy plant to grow and it's easy to propagate, this will be the first of many (I hope) posts on how we go about growing things from cuttings and such like, I won't say our way is the right way simply because different things work for different people, it's just the way we do it.
Horseradish is in the same family of plants as cabbage and broccoli and similar plants, but unlike those plants which are usually grown from seed you can usually find horseradish in root form, this is how we bought our years ago, we got a small bit of root in a plastic bag.
Here it is now -
 |
| I need to remove the flowers. |
As you can see we grow it in a pot (probably needs a larger one) the reason for that is it will spread if grown in the ground and it'll spread a lot, this one needs the flower heads removing, as we want the root there's no need to keep the flowers, if left it will have small clumps of white flowers, however any seeds it produces will most likely be sterile and not grow, so root cutting is the best way to go.
Taking root cuttings is easy and this applies to other plants and not just horseradish, I took three sections of root from the main plant earlier on in the year before it had started growing, around March time.
When it looked like this -
 |
| It's not some kind of demon. |
I lifted the plant from the pot and took three longish cuttings, all three have a lot of thin roots on them, but it doesn't matter if there are no small roots, each bit was about four inches long.
Root cuttings -
 |
| Time for potting. |
Then all I did was put the three cuttings into pots and filled the pots with a mix of compost from our compost bins and shop bought compost, shop bought compost will be fine if you don't make your own compost.
Ready for soil -
 |
| It will grow quickly. |
Time to wait and see what happens -
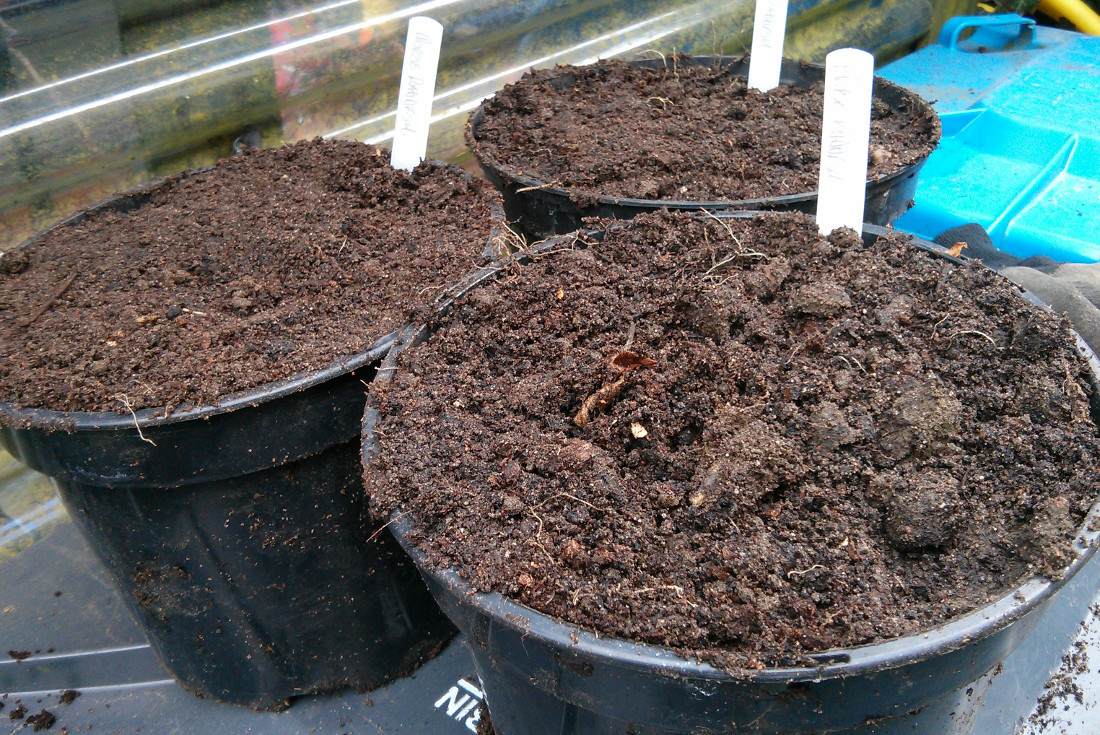 |
| Fingers crossed. |
And a couple of months later we have signs of life -
 |
| The largest of the three. |
It doesn't get much simpler and now we have four plants with which to make our own horseradish sauce, or rather I have four plants I can make sauce from, no one else in the house likes it.
I will be planting these and the original plant into much larger tubs so the roots can get nice and long, now all I need is a good recipe for horseradish sauce.
There are other plants you can do this with both edible and non-edible, Ginger for one, just buy a bit from the supermarket and grow from that, although it does require a different approach, Turmeric is another one, if you've ever seen Turmeric roots in a shop you can also get these to grow in a pot, and again once the plants get bigger simply divide them up, take what you need and as long as you keep a few bits of root you'll always have plants so taking root cuttings is a good and easy way to propagate plants.
Our Turmeric is just starting to grow again -
 |
| Turmeric. |
Thanks for reading.


