Sunday 25 October 2015

Smelly wooden pumpkins...

It's that time of year when I'm left with less to do gardening wise at least, the allotment has wound down, the garden as well, I do have a load of jobs to do over the winter in the garden in the shape of some trellis for training fruit trees and other plants, I also plan to build a seated arbour for the bottom of the garden, but as for growing things, not much is going on so I'm now working through some of the other things I've been wanting to do, one of which is make some wooden pumpkins for Halloween.

To be honest I'm not sure they are very pumpkin like, but they look okay and they have the added bonus of being smelly, I shall explain.

The pumpkins -

Pumpkin ish ?

I made them from an old fence post, I haven't finished them as well as I usually do, as I was trying to retain a kind of rough / rustic sort of look, they were easy enough to make.

I took an old fence post and cut some blocks from it - 


Blocks cut and centres marked.

I drilled a hole in the centre for mounting onto my lathe using a woodworm screw - 


Ready for the lathe.

Block mounted and ready for turning - 


These are rough and ready pumpkins.

As you can see I haven't taken too much care, and to be honest the wood wasn't great but didn't cause any major problems.

After a minute or two of turning - 


Sort of pumpkin shaped ?

After a bit more turning and a bit of a sand - 


Ready for a bit of detail.

At this point it kind of looks like an onion, to make the lines that pumpkins have I used a couple of needle files to make some grooves into the wood, I did try using my multi-tool with a small sanding drum on it, but I thought the grooves where too wide, you can tell which one it is in the picture at the top of this post, after I'd made the grooves I used a bit of sand paper to smooth things out a bit.

Needle files - 

Easy to use and cheap to buy.

Grooves started - 

Slightly less like an onion ?

Grooves done - 

Almost done.

Once I'd done the main part of the pumpkin I gave it a quick coat of Teak oil and then it was onto the stalk, to make this I raided my supply of random sticks and twigs, I chose some twisted willow as this looked more stalk like.

Stick chosen - 

Just needs a bit of trimming.

I cut the stick where it branched off into two parts, then trimmed it a bit, the next thing to do was sand one end of the stick so that it made a kind of stopper shape, this I figured was an easy way to hide the hole that was left from mounting the wood on the lathe.

Trimmed - 

One stalk.

Sanded and now ready to be a stopper - 


Just needs stuffing into the pumpkin.

Pumpkin done - 

One pumpkin ish pumpkin.

The reason I chose to make a stopper is because this wood is quite soft (it's Pine) it soaks things up quite well, especially oil, so I figured that they'd make interesting air fresheners, the idea is that the hole that I used to mount the wood on the lathe becomes a reservoir for the oil and it slowly soaks into the wood and the stopper stops it spilling, it also soaks some of the oil up, kind of like a wick and there you have it, smelly pumpkins, I used Lavender oil, but any essential oil would work, and after a while you can change the oil for  a different flavour.

In the end I made three pumpkins and filled them all with way too much oil and stunk the living room out, but everyone in the house likes Lavender so all was good and it was a better use for an old bit of fence post than the fire.


Smelly wooden pumpkins, what more could you want ?

Thanks for reading.


Wednesday 21 October 2015

Bowls from pallets (and a bit of scrap wood)

Now that the weather has turned a bit colder (and wetter) I've been experimenting with various wood turning projects I have wanted to try for a while.

Having seen similar things online I decided I'd have a go at making some bowls from some scrap bits of wood, in this case the scrap wood is bits of pallet, and some old lengths of pine (the sort of thing used for stud work) I mainly used the pine as a filler for the pallet wood (which is a type of gum) because I didn't have that much of it.

Here are the bowls I've made so far -

They turned out good.
These are quite large bowls (about 30cm across) and about as big as I can turn with my current lathe, they take a bit of prep work to make in the form of gluing the wood together, but they do have a nice look to them once turned and given a good coat of oil (Danish oil in this case)

To make them all I've done is take a load of wooden planks and glue them together, by arranging the wood in different ways you can create some interesting patterns in the finished piece, although these bowls are pretty simple compared to other segmented items I've seen.

Cut your planks to roughly the same size, and try to get an equal sized square, so if your planks are 20cm long then arrange enough planks to give you a finished block of 20cm by 20cm, it's best if you can use the same width of plank, but if some are a bit bigger than others its not a problem.

My planks arranged in a way I was happy with - 

I marked each bit so I could remember which way up they needed to be.

You can see the wood isn't all the same thickness, but by lying them all on a flat surface I was able to create a nice flat face, which helped when it can to mounting the face plate for turning, I've also tried to get the grain of each bit of wood arranged in a more or less symmetrical way, it's easier to see in the turned bowl.

Now onto gluing, I glued each piece together and made sure that each bit of wood was nicely coated with glue, I used a paint brush to apply the glue, I'm using a good quality wood glue for this to make sure it's all stuck together, really don't want it falling apart when I turn it, big chunks of wood at high speed, not great.

Once I'd glued all the pieces and stacked them it was time to add some clamps, the more the merrier to be honest, I clamped the wood together as tightly as possible, I put a clamp on each corner and used a ratchet strap for the middle as I only have four of these clamps.

Wood clamped - 

Just go to wait for the glue to go off.

Although this glue takes about 24 / 48 hours to set fully I waited a week before removing the clamps to make sure that all the glue had set.


Once the glue was set taking the now solid block of wood I marked it out to find the centre and using a make shift compass I marked a circle onto the block making it as large as possible, this way I figured I'd have guide so I could see how much wood to take off before it was round, the idea being that I could take off the bare minimum and keep the bowl quite large.

Centre marked out - 

Quick and easy compass, just a flat bit of wood with a few holes.

Face plate mounted, one more thing to do before turning - 

More or less centred.

To save a bit of time I cut some corners - 

Not the best picture, but you get the idea.

On to turning, didn't take long to get it to this state - 

Bit of a sand and this side is done.

Slight oversight on my part, bit of wood missing, but left it as it is, we'll go for the rustic look -

It adds to the character.

Now for the inside, I'd turned a recess so that I could mount the bowl on my expanding chuck -

Looks like a bowl, so that's good.

And here's the bowl after some sanding and a bit of an oiling - 

Bit more oil and it's done.

Hopefully you can see what I mean about arranging the wood so that the different grains make different patterns, the other thing I like about these bowls is that I can make them using one tool, I've made three so far and for each bowl I've only used one of my Oland tools to make them all.

Okay so they aren't fancy bowls, but they are very sturdy and not bad to look at, they make great fruit bowls and I'm quite happy with them, considering it was a bit of an experiment I think it worked out okay, which is not always the case for some of the ideas I have.


The three bowls - 

Better than chucking the wood on the bonfire.


Thanks for reading.

Wednesday 7 October 2015

Trivets / pot stands...

In our continuing quest to recycle and re-purpose things we get from free cycling and other places I have used some tiles we recently came across to make a couple of trivets or pot stands for putting hot saucepans on, although they could be used for other things, like maybe putting house plants on.

The tiles are solid marble and as well as being quite heavy they are quite large (20 cm square) so they are pretty good for this kind of thing.

Here's one of the tiles -

Not bad we got 10 in all.
People have made tiles into pot stands and such like for ages, so this isn't a new thing, but it's a good use of any left over tiles you might have.

All you need to do is make a simple wooden frame, although with these tiles I could have just stuck some rubber pads on the bottom and they would have done just as well, but having a frame makes them look a little nicer.

The frame is made from tile batten (I could probably write a book with 101 uses for tile batten) it's a simple mitred frame, all I've done is put rebate in the wood so the tile sits inside the frame, but still stands proud of the wood so that when a pan is put on it only the tile comes into contact with the bottom of the pan.

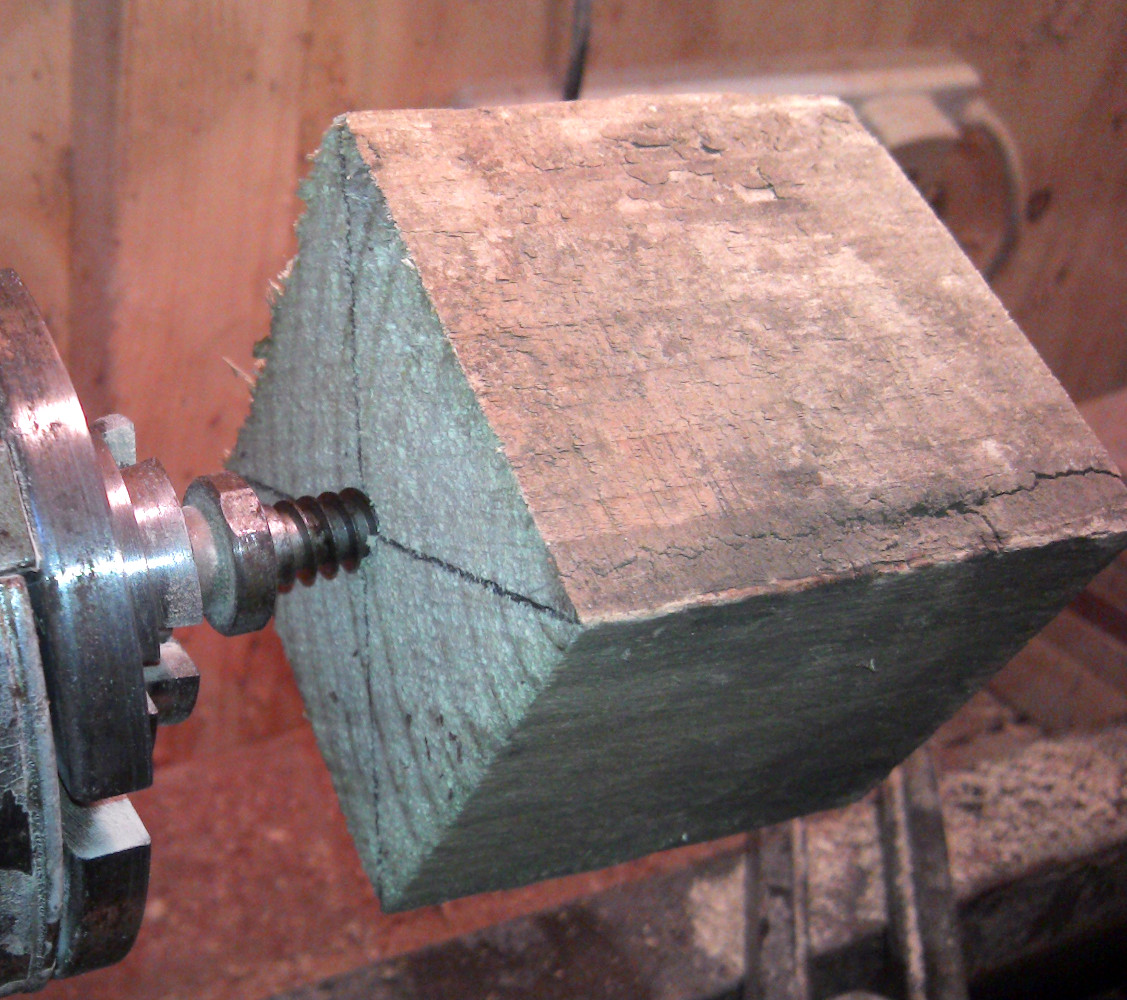
Tile batten ready for routing - 


Probably not the best way to hold wood for this type of job.

Using my router I made a rebate in the entire length of wood, then I cut four pieces with a 45 degree angle at each end. 

One piece cut, just need another three - 


You can see the rebate where the tile will sit.

All four bits cut - 

I used a mitre saw for the angles.

To fix it all together I used wood glue and a frame clamp, I've also glued the tile into the frame so it won't slip out.

Glued and clamped - 


Just waiting for the glue to set.

It was at this point I though that putting some small foam / rubber pads on the bottom would be a good idea, it helps to stop the trivet moving about, and it also raises it up a bit so that if it's moved about it won't scratch the work top, the problem was I didn't actually have any foam / rubber pads, so I made some from a piece of neoprene.

This is pretty easy, all you need is a bit of foam, and a way to cut small circles out of it, you could use scissors but with thick foam this might be difficult and there's an easier way, all you need is a small bit of tube, steel is better, make sure it's diameter is about the right size for what you need, the bit I used is about 10mm and this works on various materials.

What you need to do is sharpen the end of the tube, this is easy if you have a belt sander or a bench top sander like me, you can also do it with files, but it'll take a bit longer, you need to make a cutting edge at the very end of the tube by grinding / sanding the end of the tube at an angle.

Here's my foam cutter - 


It's actually quite sharp.

You can see the angle on the end of the tube, you can also run a small file or a bit of sand paper around the inside of the tube to improve the cutting edge, then all you need to do is place your newly made cutter onto the foam and twist as you push down, if you get it nice and sharp you don't need to put much pressure on it, although thicker materials will need more force.

Putting it to practice - 


It works surprisingly well.

I made a few cuts whilst getting the cutting edge nice and sharp, the end result is easy to make foam pads with a nice clean edge.

Like so - 


I've already used it again to make some new pads for a laptop.

If you use some double sided tape on the foam you can make your own sticky pads for what ever you might need them for, as the caption says I recently made some new foam pads / feet for a laptop out of some slightly thicker stuff.

Back to the trivets, once the glue had dried I gave the wood a bit of a sand and then stained and waxed it, I've gone for a dark stain, but you could use any colour you like, or just leave the wood in it's natural colour, I used a hard wearing clear wax to seal the wood, but a clear varnish would do just as well, it means the trivet can be wiped clean easily, once that was done I stuck the foam pads onto the wood and that's about it.

It's not a new idea, but it's a good use of some old tiles, and they make useful things and pretty good presents for people, and they cost next to nothing to make, the wood worked out at about £1.50 and I made two trivets and had some wood left over, you can use any sized tile you like, small ones make good coasters.

Small blue tile, just about the right size for a cup - 


Made in the same way.

Two finished trivets - 

I know it looks like a crack, but it's just the way the marble is, honest.

Thanks for reading.